Read this step by step guide on how to install Umbraco version 12 using both CLI and template package methods.
Umbraco is open-source and free CMS. Which allows us to build websites and data-driven apps. Also, it supports responsive websites. So, we can access it from any device and browser.
It supports the latest version of .NET. Also, it can be used with .NET Core.
Umbraco website supports multiple databases. Primary database Umbraco support like MSSQL, MySQL, Postgre SQL
The latest version of Umbraco is 12 and the .NET Framework 7
Umbraco can be installed in two ways
- Using CLI
- Using template package
How to install Umbraco using CLI.
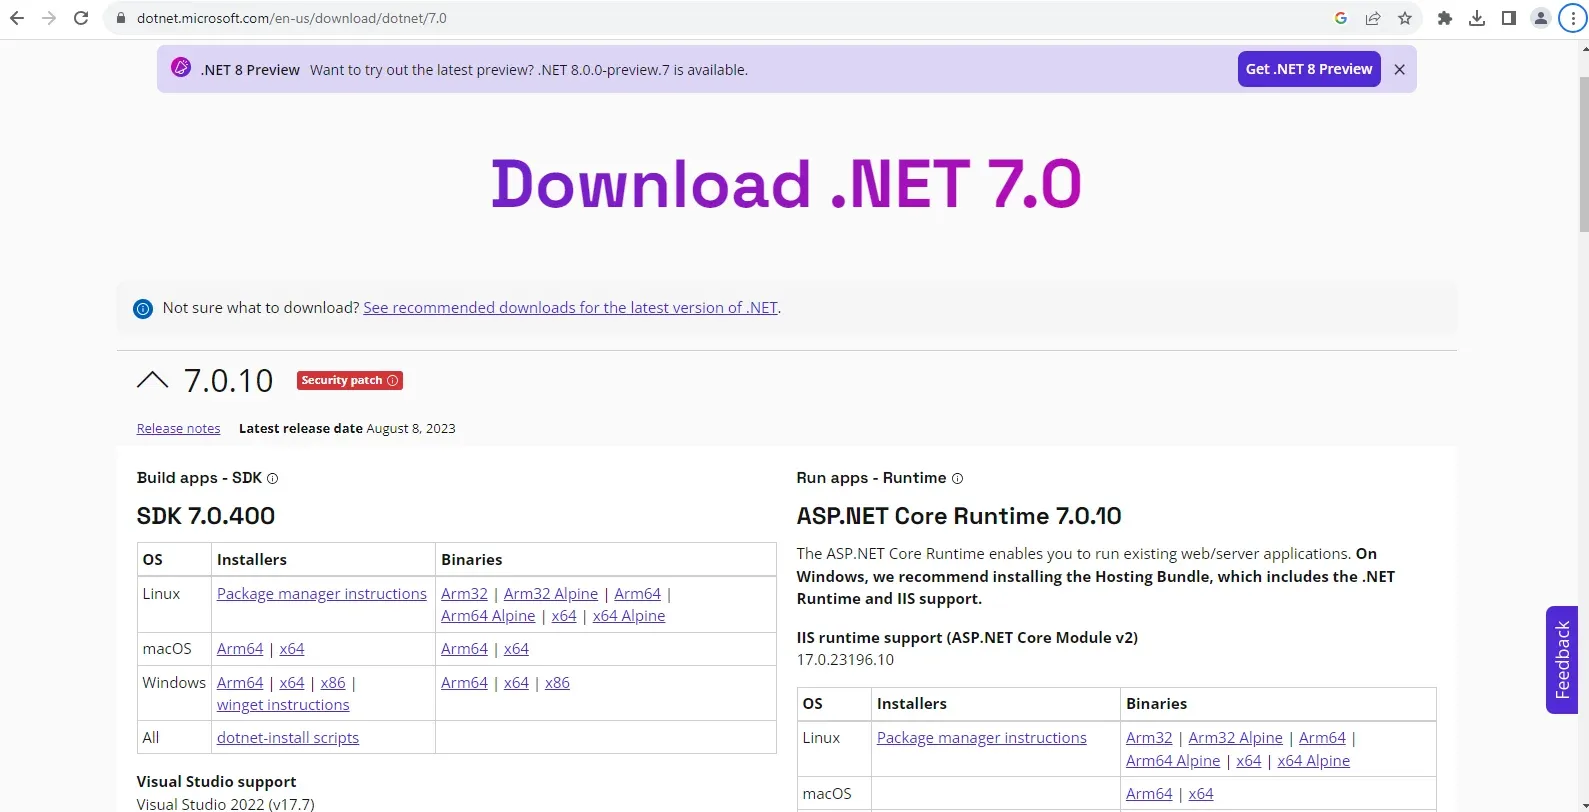
Step: 1 Install.NET SDK in the local system. You can find it available on the Microsoft website. https://dotnet.microsoft.com/en-us/download/dotnet/7.0
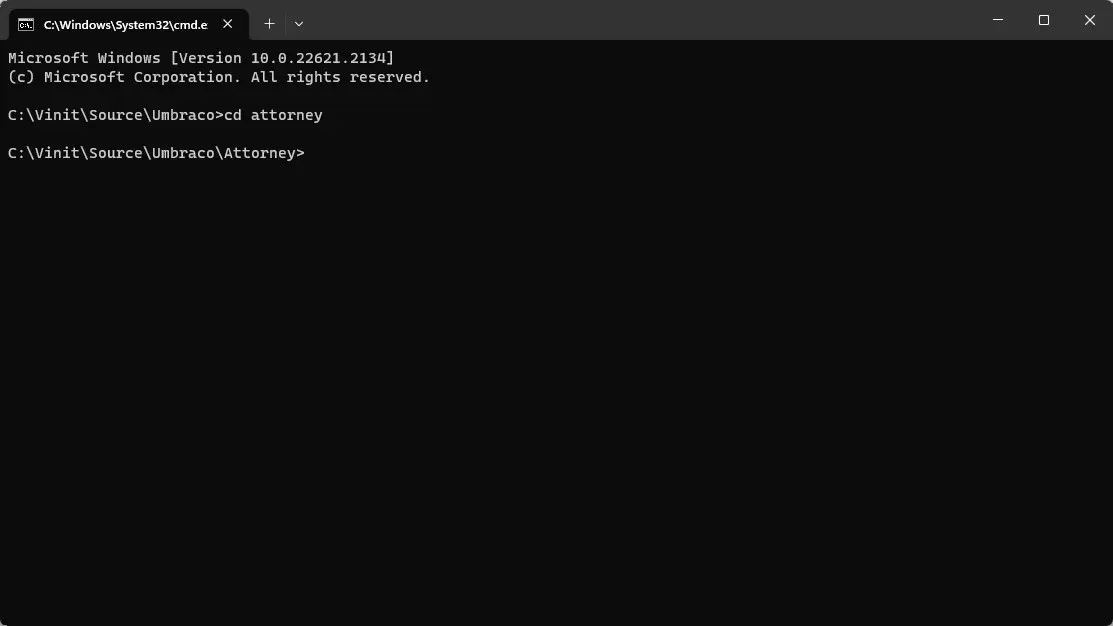
Step: 2 Open the command prompt and navigate your folder where we need to create our project. Now run the below command to create a new project.
dotnet new umbraco -n YourProjectName
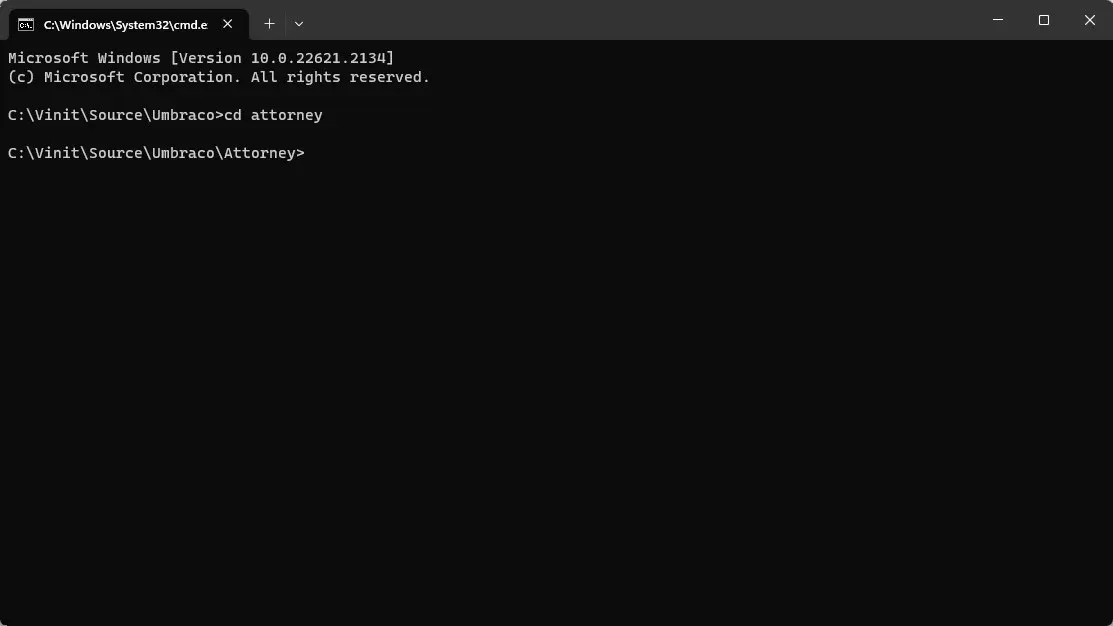
Step: 3 Navigate your project directory with the project name.
cd attorney
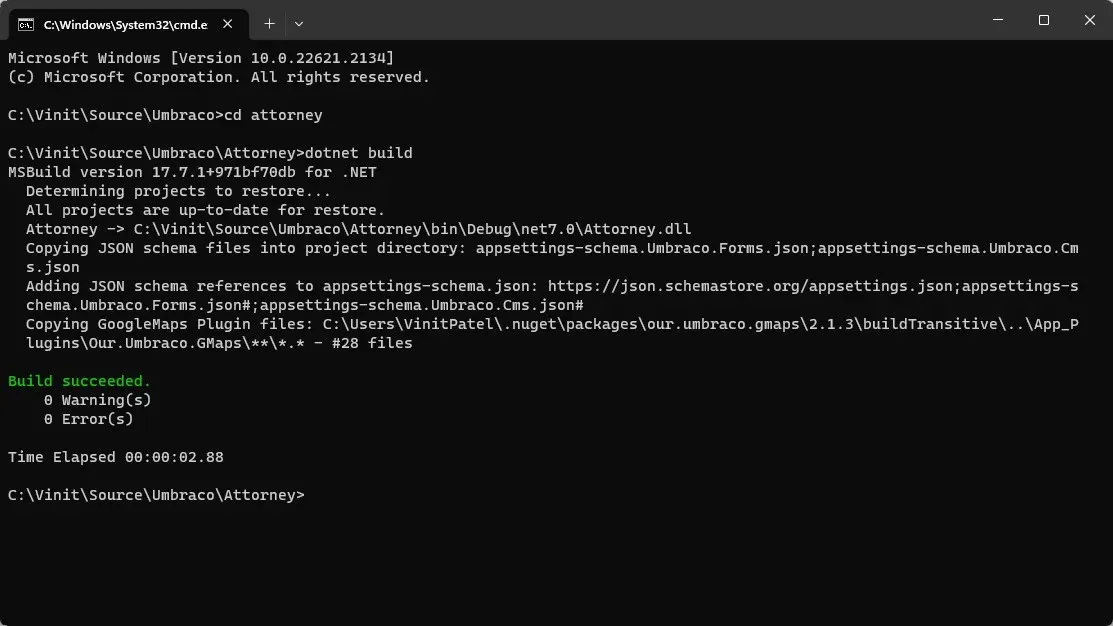
Step: 4 Build the Umbraco project using the below command
dotnet build
Step: 5 Run the Umbraco project using the below commands:
dotnet run
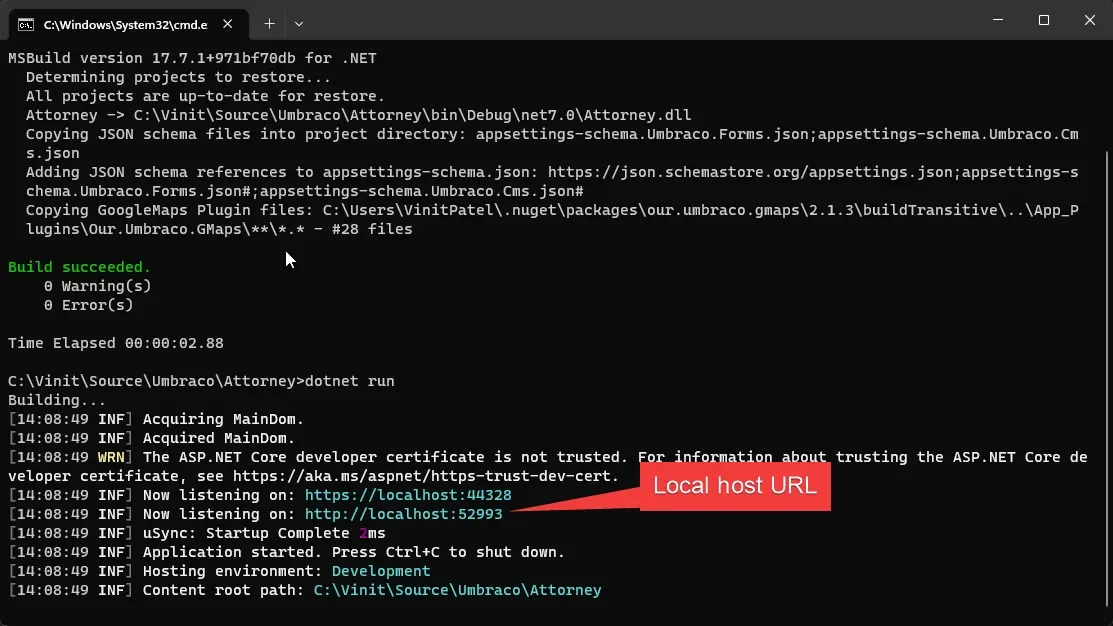
Step: 6 Umbraco application is successfully run in the local environment. Open the web browser and run the below URL.
http://localhost:52993
Step: 7 Fill up the credentials and database details in the Umbraco form.
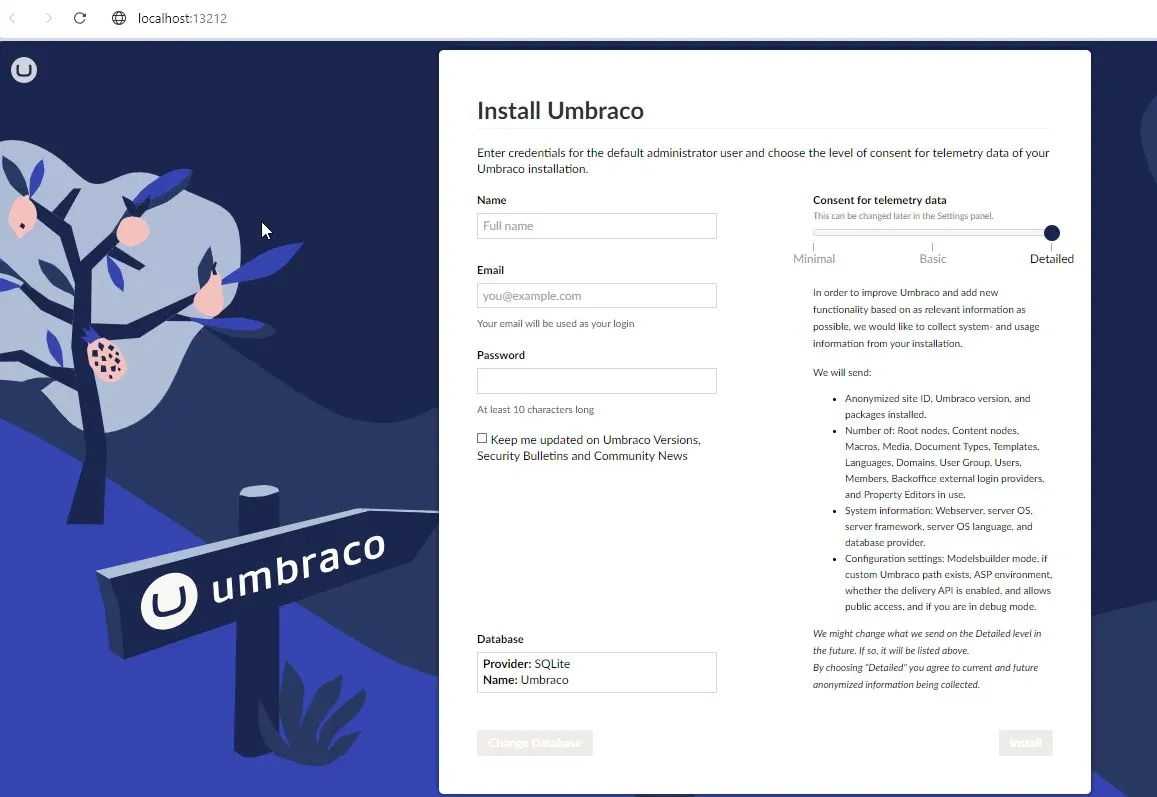
How to install Umbraco using the template package.
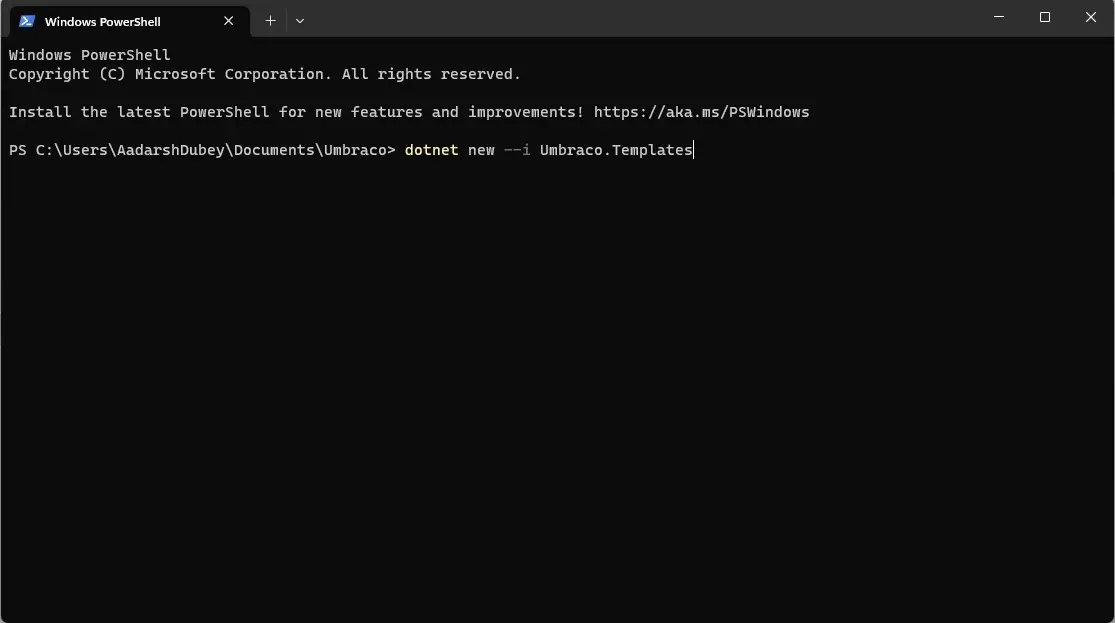
Step: 1 Create an Umbraco template for creating the project following the command.
dotnet new --i Umbraco.Templates
Step:2 Open visual studio then create a new project with the Umbraco template.
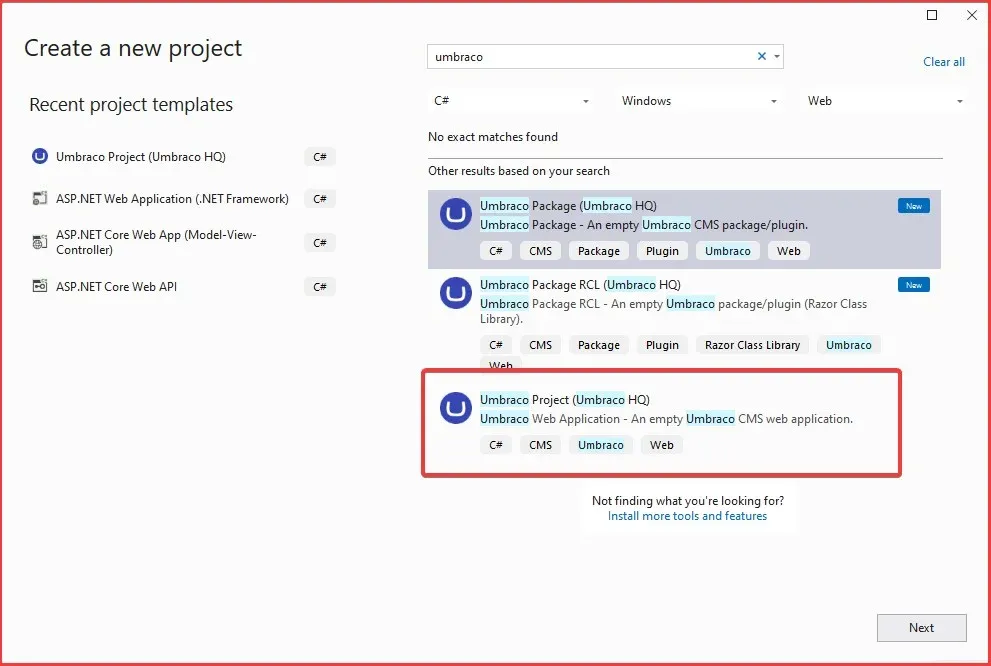
Select the Umbraco project as per the above image and create a project. Then Build the project and run it. Once you run it it will redirect to the Umbraco local registration page as shown in Step 7
Select the Umbraco project as per the above image and create a project. Then Build the project and run it. Once you run it it will redirect to the Umbraco local registration page as shown in Step 7

